Salmon Roast in Foil

Salmon Roast in Foil
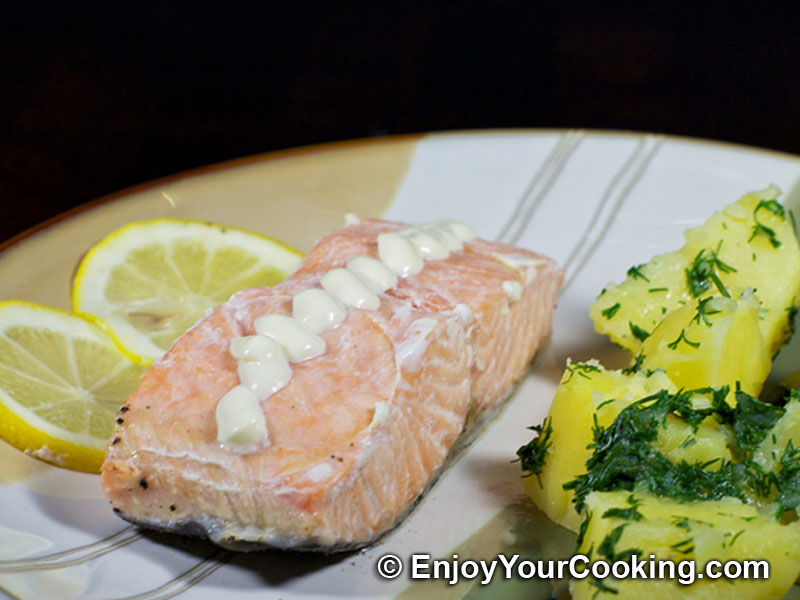
For me the best tasting salmon – is boiled salmon, and with this recipe I get taste of boiled salmon without actually boiling it. The same as boiled salmon this one tastes great garnished with mayo; a glass of white wine is good accompaniment as well.
This salmon roast can be cooked on the grill as well, just pack each fish piece into separate piece of foil and then cook without pan until ready.
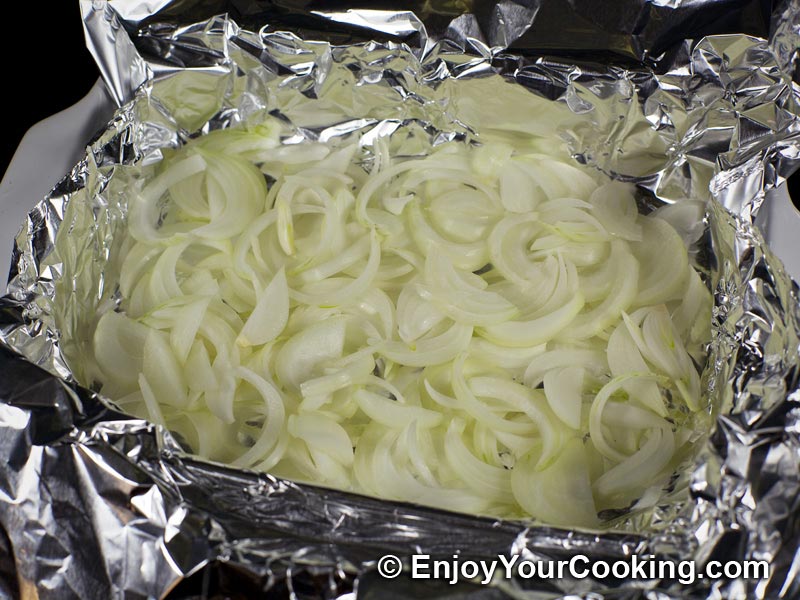
Onions here are optional, they give a bit of taste to the dish but they also make sure that fish doesn’t touch the foil.
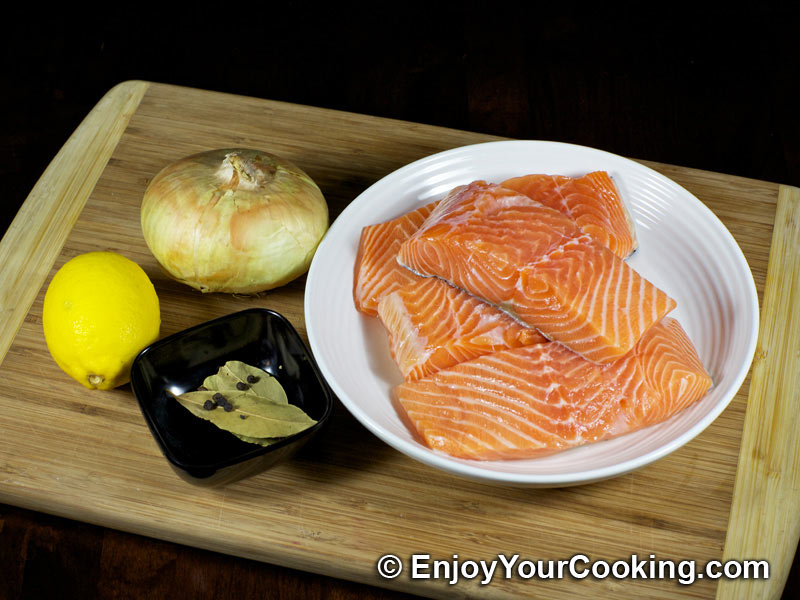
Ingredients:
- 4 portion pieces of salmon fillet, 1.5lb-2lbs
- 1 lemon
- 4 bay leaves
- Black peppercorns
- Salt to taste
- Black pepper to taste (optional)
- 1 onion (optional)
How to prepare, step-by-step:
-
Prepare ingredients: scale salmon if needed, if you have a whole piece – slice it in 4 equal sized portions, then rinse with cold water:
Salmon Roast in Foil Recipe: Step 1 -
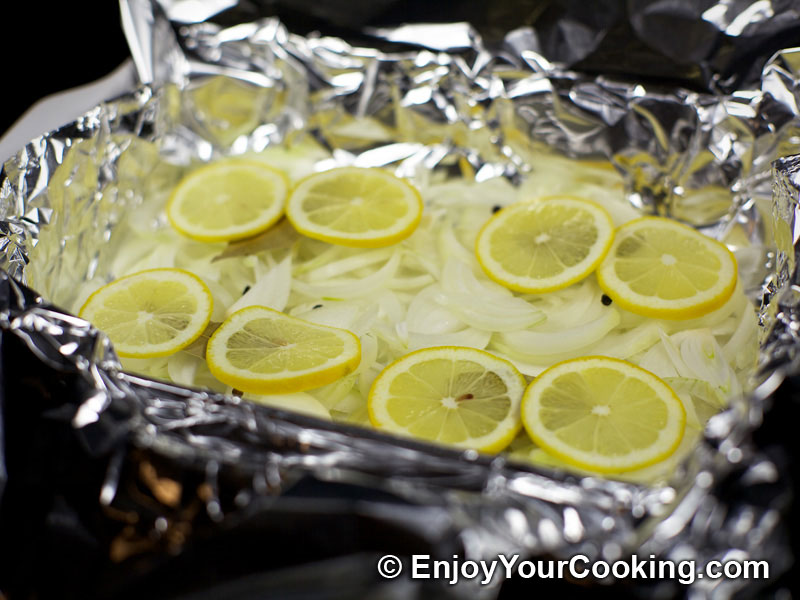
Lay a baking pan with big sheet of food foil, if you choose to use onion – peel and slice it, spread evenly in the foil:
Salmon Roast in Foil Recipe: Step 2 -
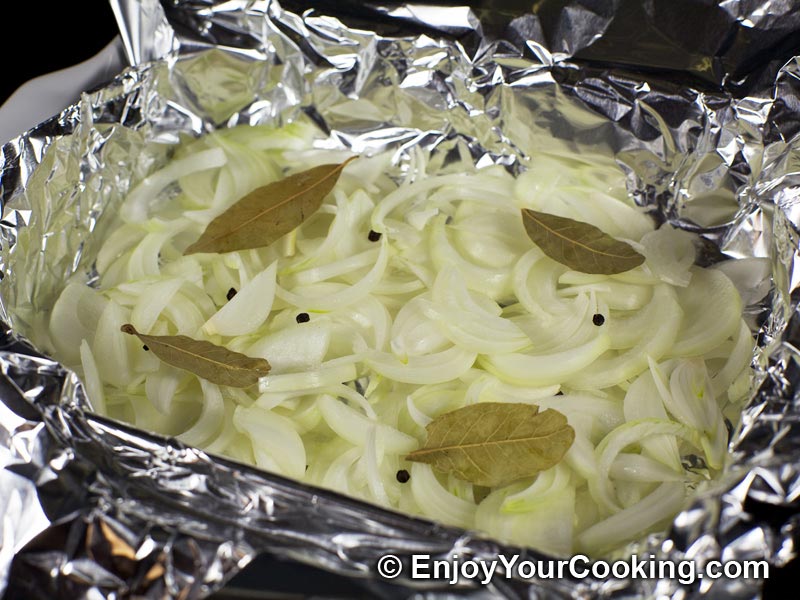
Add bay leaves and black peppercorns:
Salmon Roast in Foil Recipe: Step 3 -
Slice about half of lemon into 8 thin circles, arrange them in 4 corners:
Salmon Roast in Foil Recipe: Step 4 -
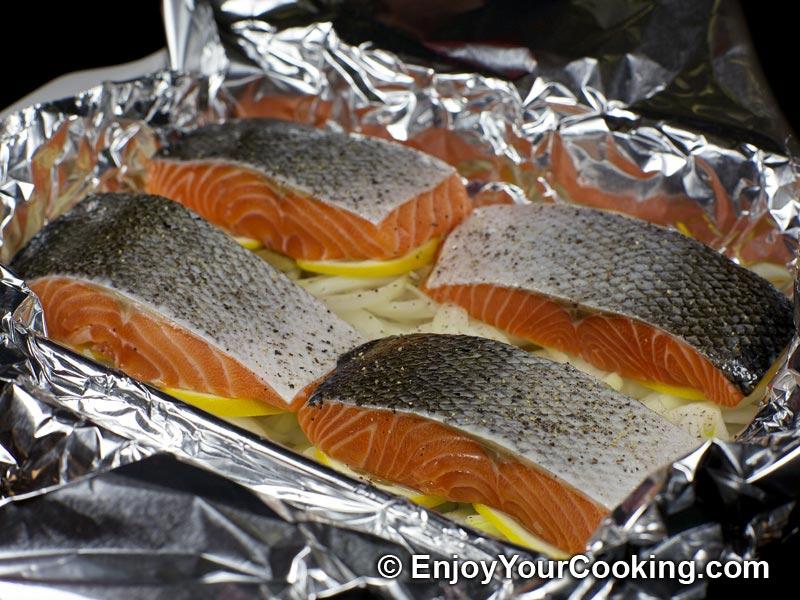
Salt each piece of salmon generously from each side, put to the baking pan skin side up and season with ground black pepper:
Salmon Roast in Foil Recipe: Step 5 -
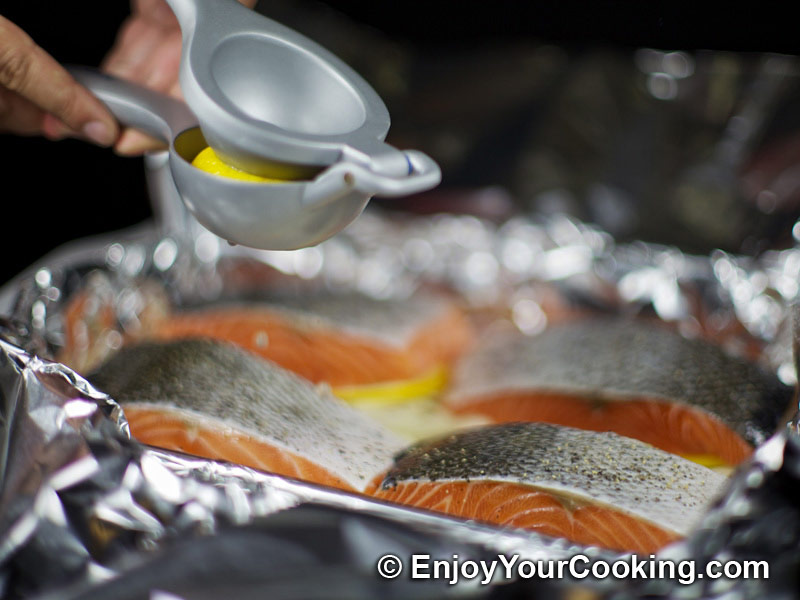
Sprinkle with juice squeezed from the remaining of the lemon:
Salmon Roast in Foil Recipe: Step 6 -
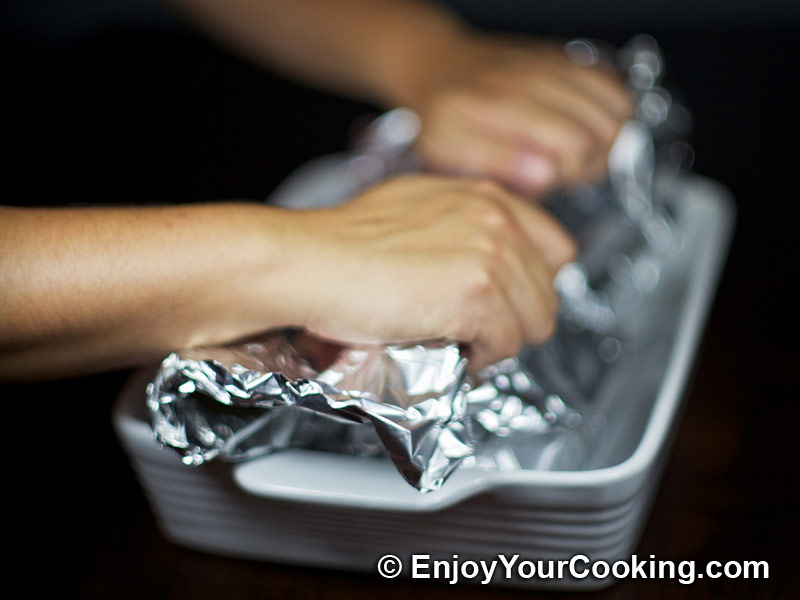
Bring top and bottom sides of foil together and seal them tightly, then seal from the sides:
Salmon Roast in Foil Recipe: Step 7 -
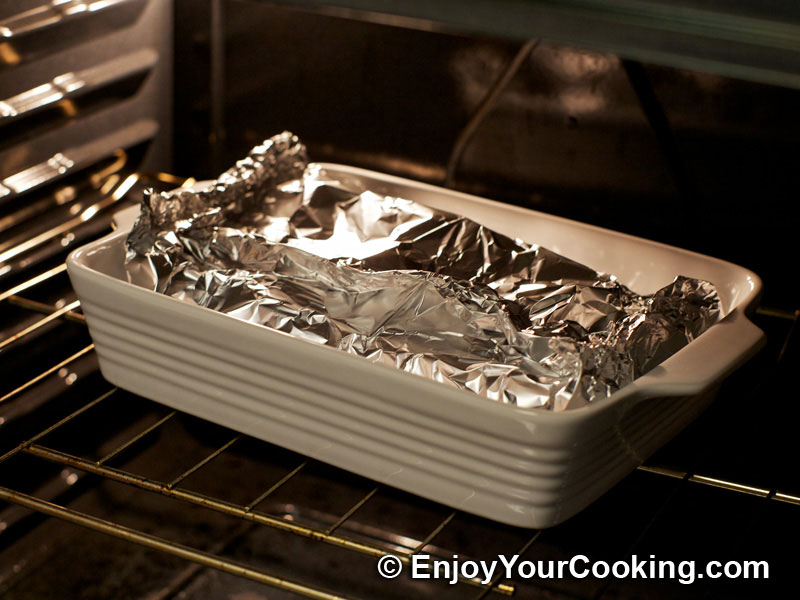
Preheat oven to 415F and put baking pan into the oven for 20 mins:
Salmon Roast in Foil Recipe: Step 8 -
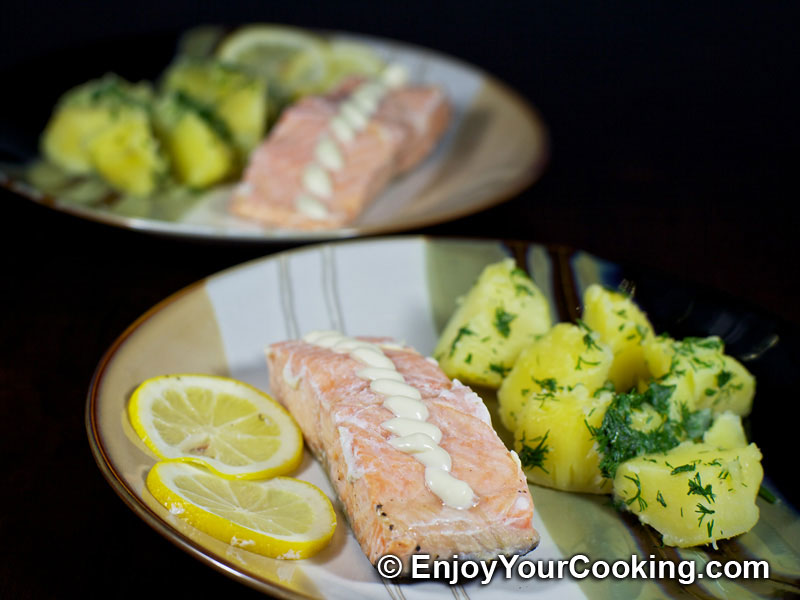
Get pan from the oven, carefully unfold foil and serve roast salmon with your choice of side dish; it also tastes great garnished with mayo:
Salmon Roast in Foil Recipe: Step 9
View Comments
Love your website
Thank you :)