Russian Meat Dumplings (Pelmeni)

Russian Meat Dumplings (Pelmeni)
Pelmeni (russian meat dumplings) is one of the dishes which take a lot of time to make.
However once done, you can freeze them up for future use, which is perfect for times when you are short on time and need to get something fast to eat.
And just a hint, it goes faster if you are not assembling them alone.
You can use already ground meat, or grind meat yourself and if you choose to do so – grind onions together with meat.
Ingredients:
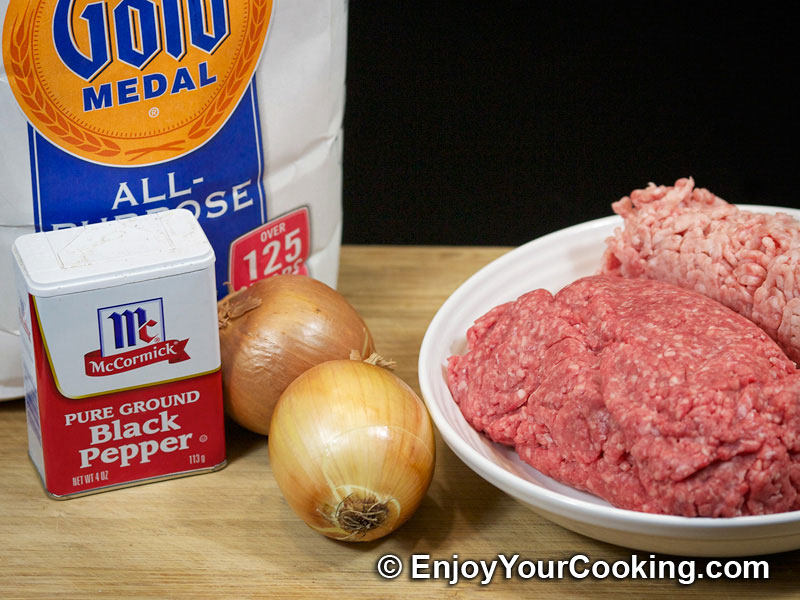
Dough
4-5 cups of all purpose flour- 1.5 cups of warm water
- 1 teaspoon of salt
- Tablespoon of butter
Stuffing
1.5lb of ground beef- 0.5-0.75lb of ground pork
- 2 onions
- Ground black pepper to taste
- Salt to taste
How to prepare, step-by-step:
-
Prepare ingredients:
Russian Meat Dumplings (Pelmeni) Recipe: Step 1 -
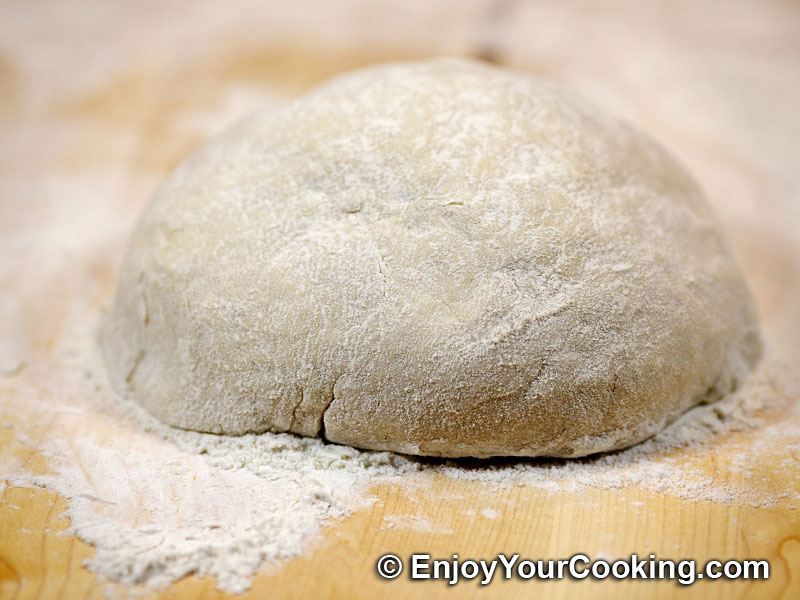
Start off by making dough of water, salt and flour, I have detailed instructions on that here; cover ready dough with plastic wrap and set aside:
Russian Meat Dumplings (Pelmeni) Recipe: Step 2 -
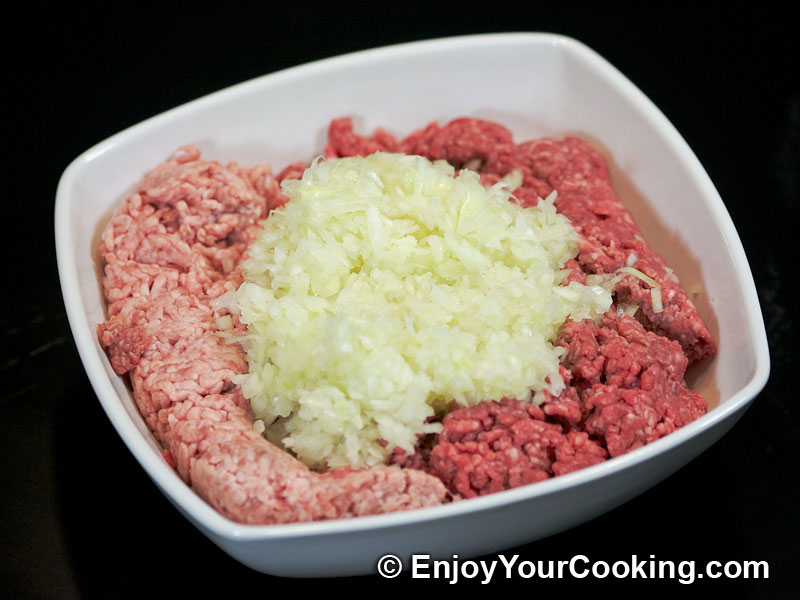
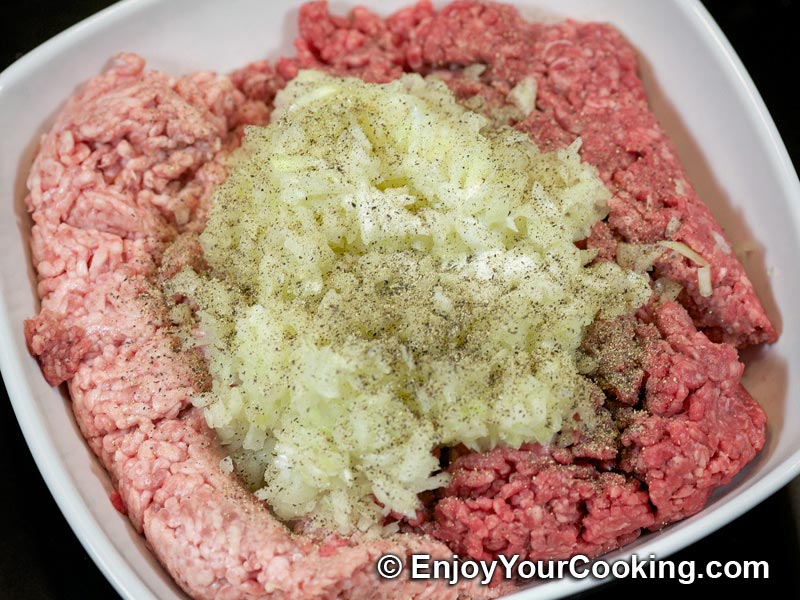
In the bowl mix ground beef, ground pork and ground onions (I used hand grinder to chop onions, you can use grater, blender or food processor); by the way you can go with ready ground meat or to grind meats yourself, if you chose to do so, grind onions together with meat:
Russian Meat Dumplings (Pelmeni) Recipe: Step 3 -
Add salt (about 1 tablespoon) and ground black pepper to taste:
Russian Meat Dumplings (Pelmeni) Recipe: Step 4 -
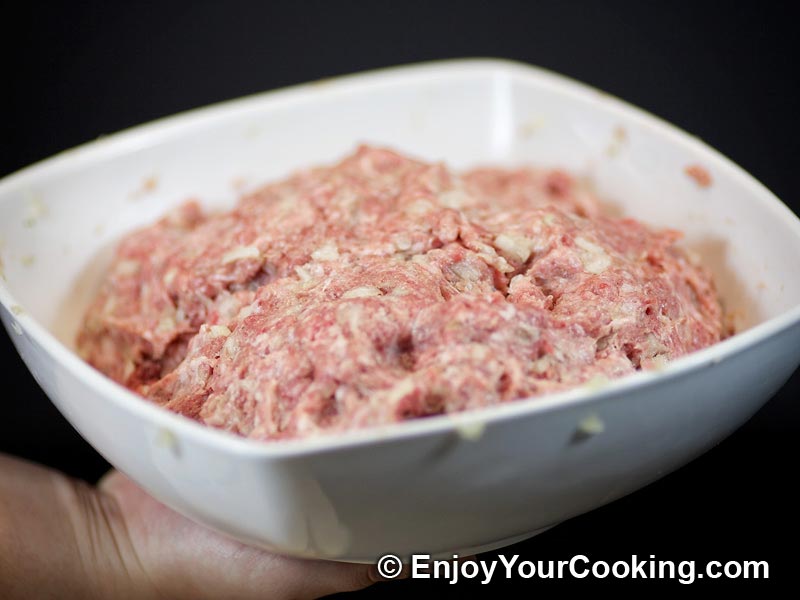
Mix it all good:
Russian Meat Dumplings (Pelmeni) Recipe: Step 5 -
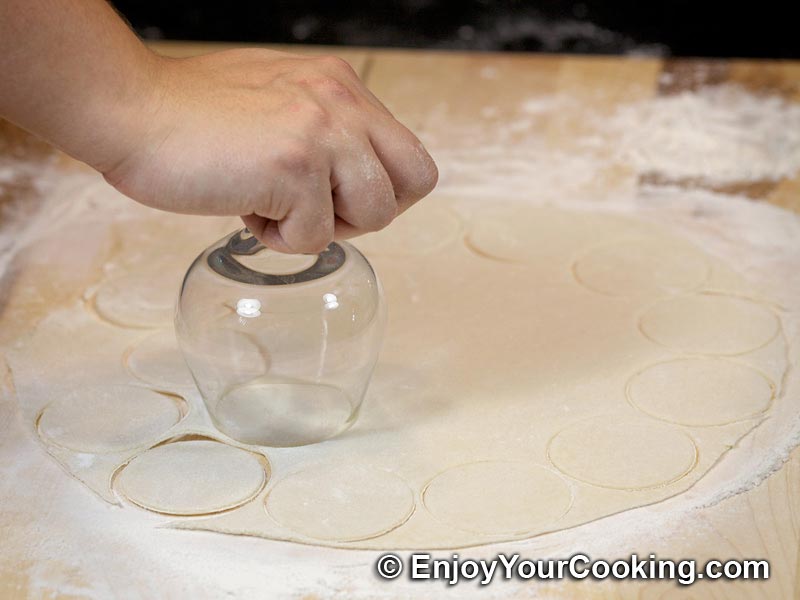
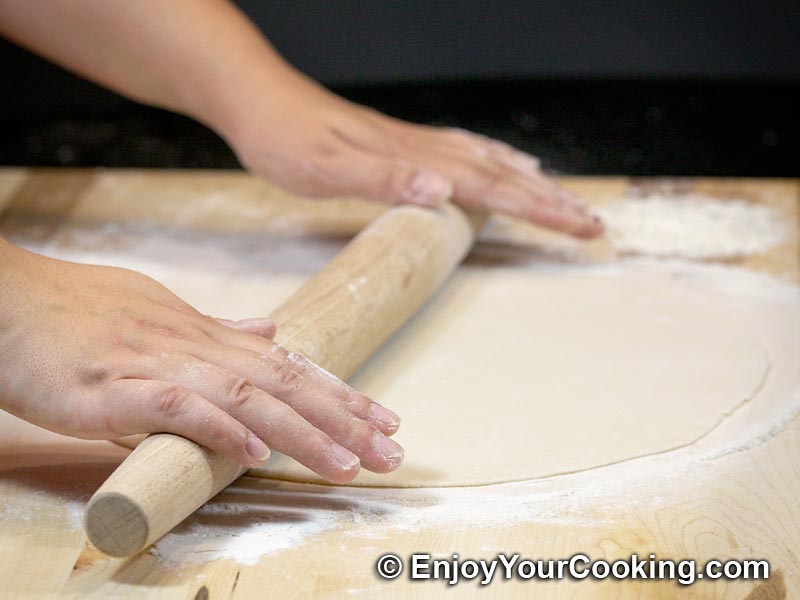
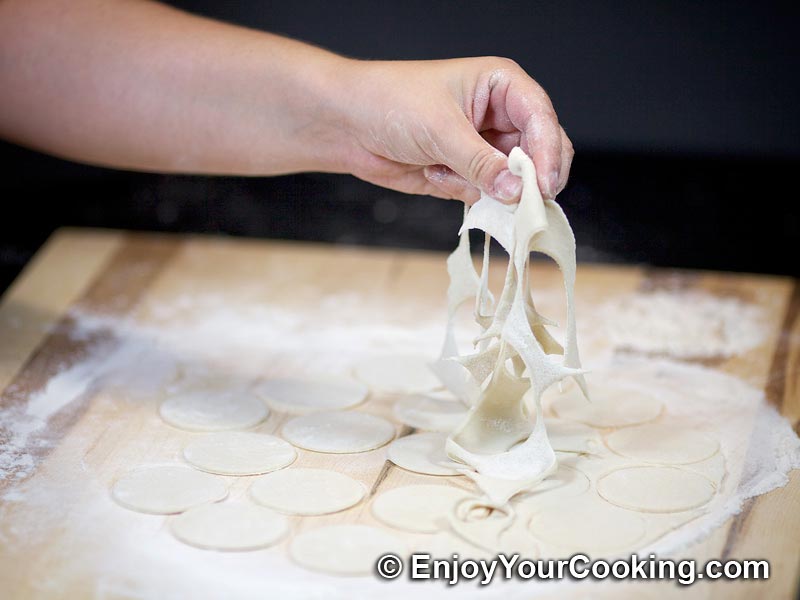
Now it is time to assemble dumplings. Take a portion of the dough to a wooden board dusted with flour (leave rest in the plastic wrap):
Cut dough into circles 2” in diameter Roll it 2-3 mm thin with a rolling pin Remove cut off dough -
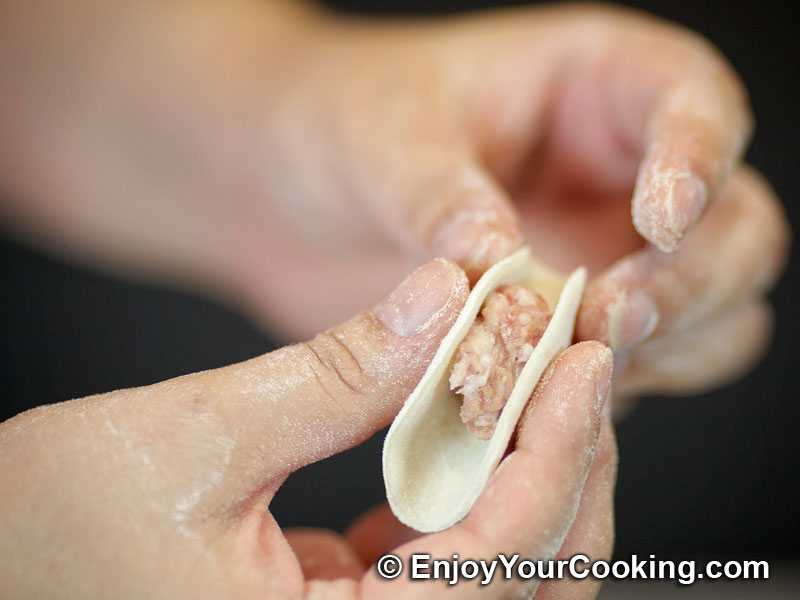
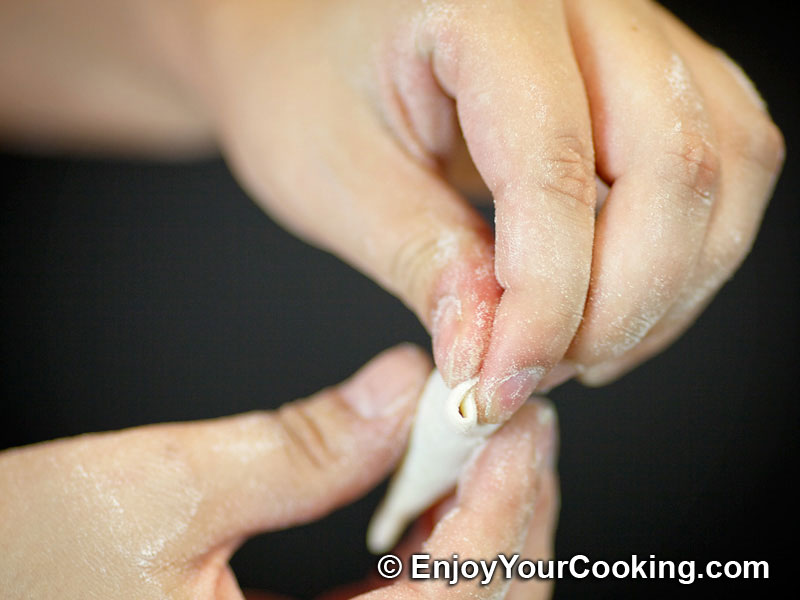
For each dumpling:
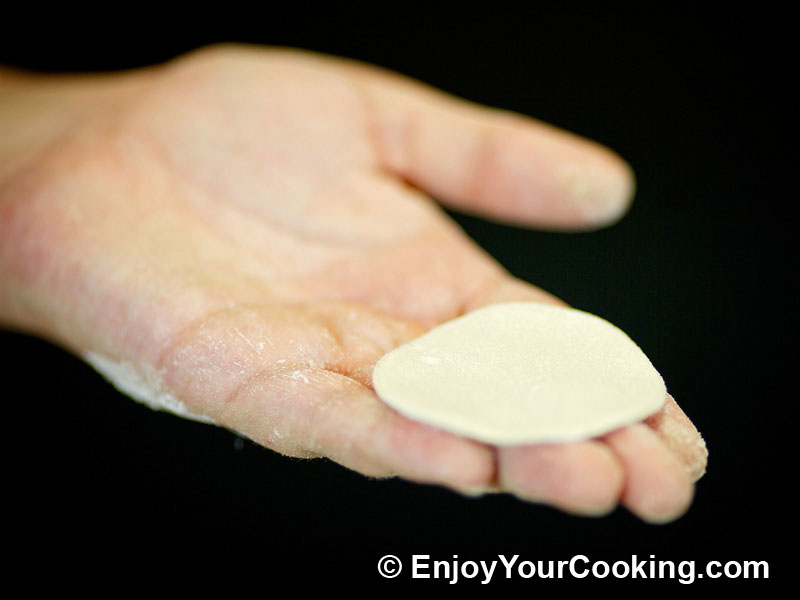
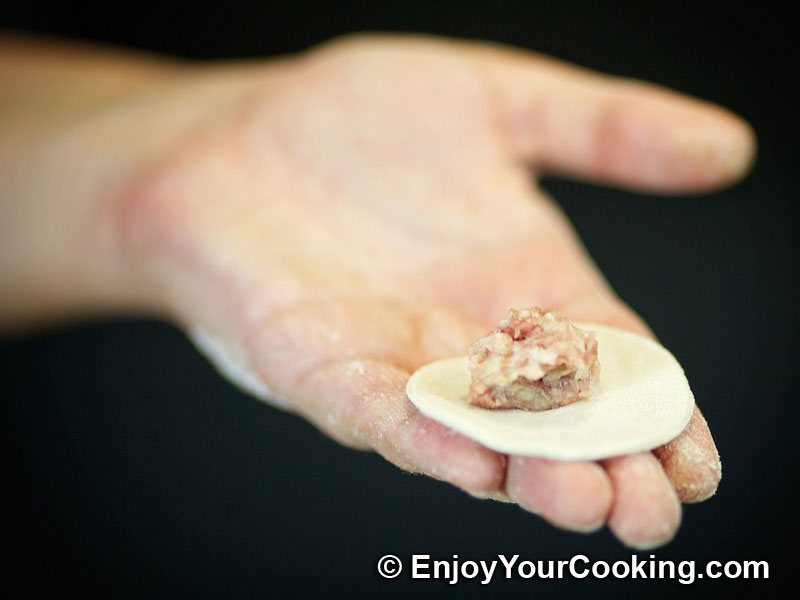
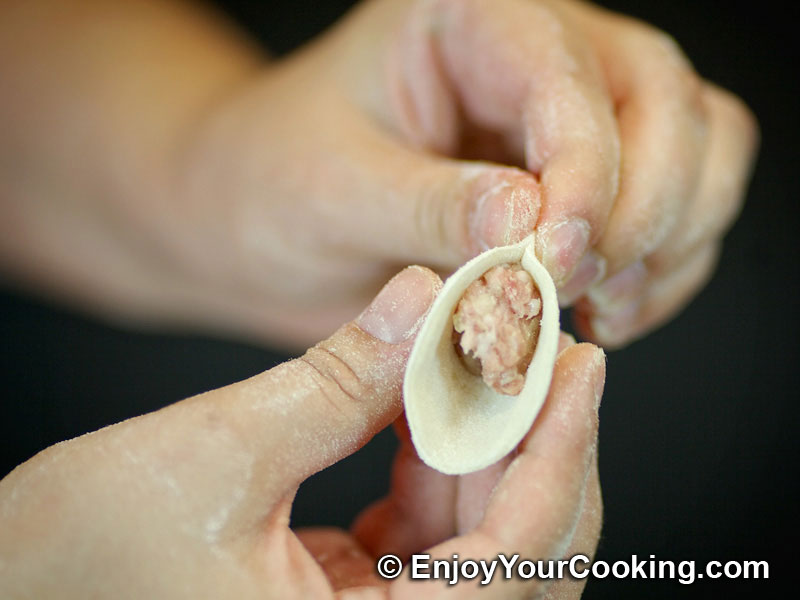
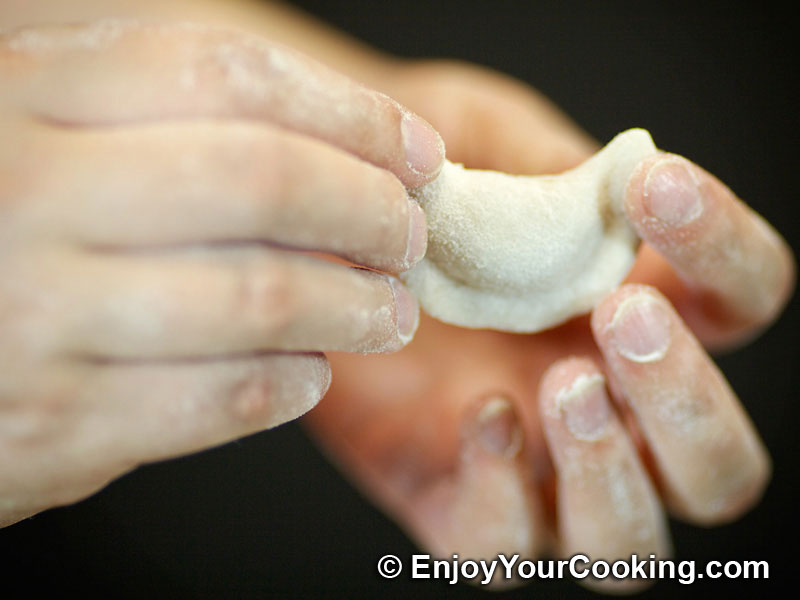
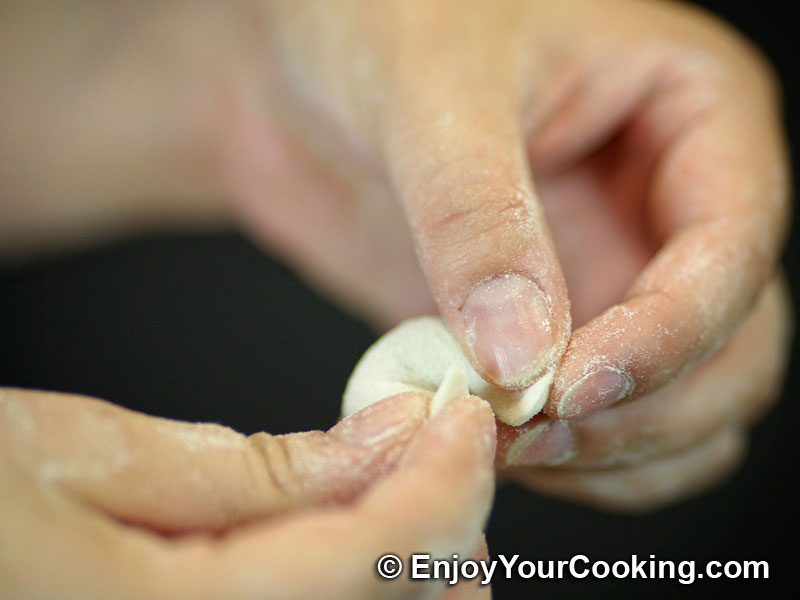
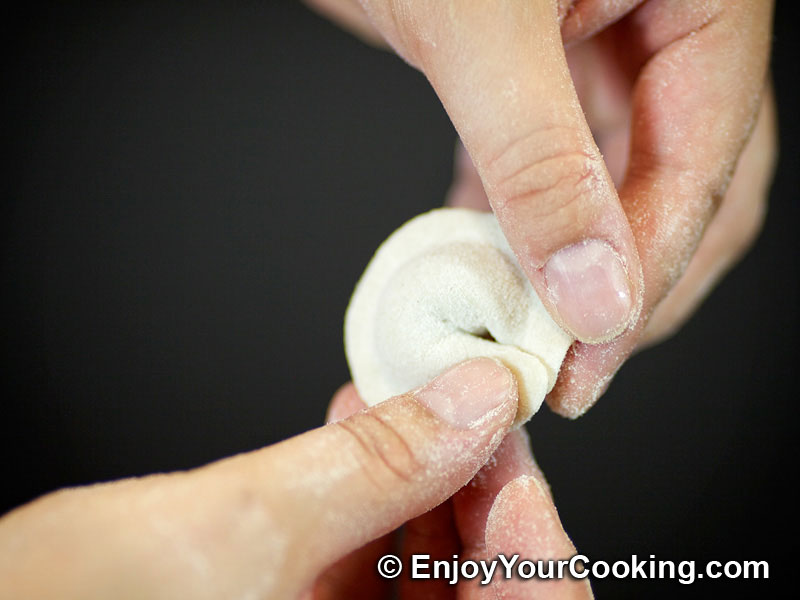
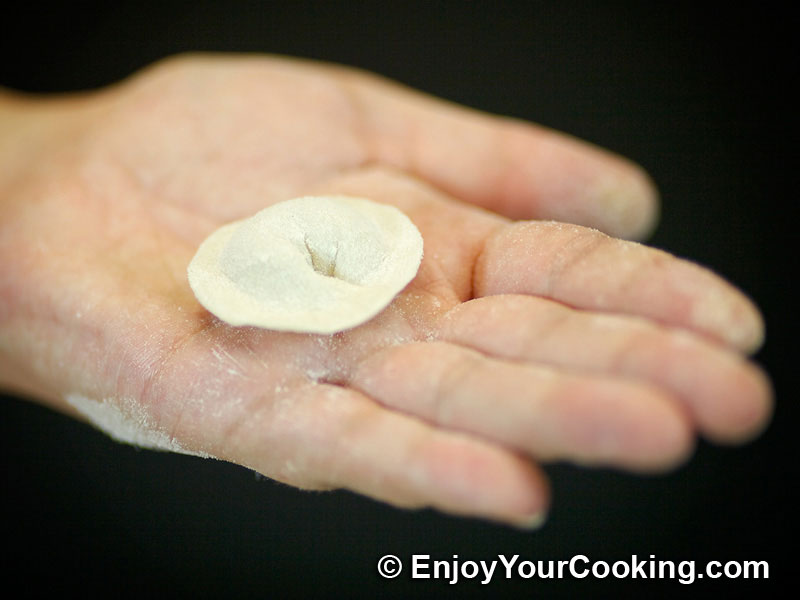
Take a dough circle Put a bit of mince in the middle Firmly pat edges together Fold dough in half From one side to another You will get this Then bring opposite ends together And join them Here is ready pel’men’ dumpling -
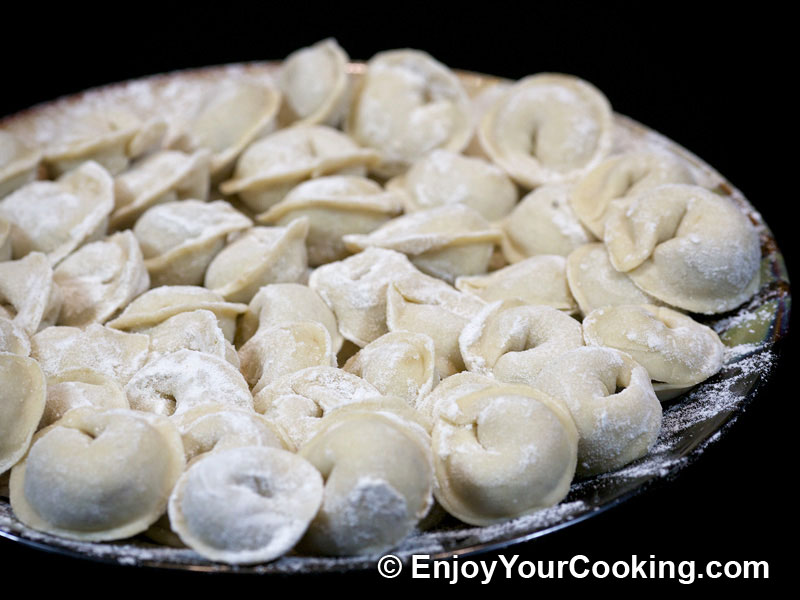
Repeat for all dough and mince, arrange ready dumplings on the plate dusted with flour; at the end I got approximately 3 plates like this:
Russian Meat Dumplings (Pelmeni) Recipe: Step 8 -
Most of dumplings I froze up for the future use, left out only 2 portions for dinner. To finish up cooking (either frozen or just assembled pel’meni), bring a cooking pot full of water to boil, salt to taste; put portion of pel’meni to the boiling water, cook dumplings until they surface then let them simmer for 5-8 mins more:
Russian Meat Dumplings (Pelmeni) Recipe: Step 9 -
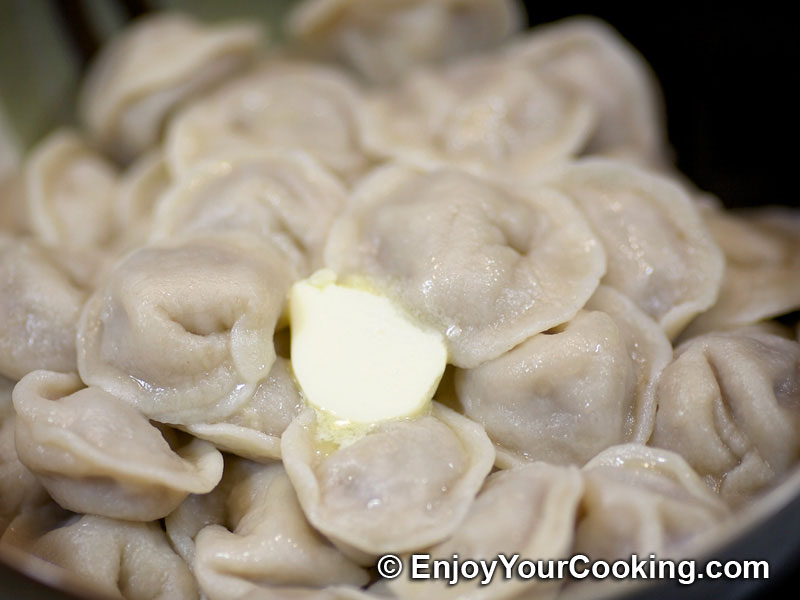
Move cooked dumplings to a bowl using skimmer:
Russian Meat Dumplings (Pelmeni) Recipe: Step 10 -
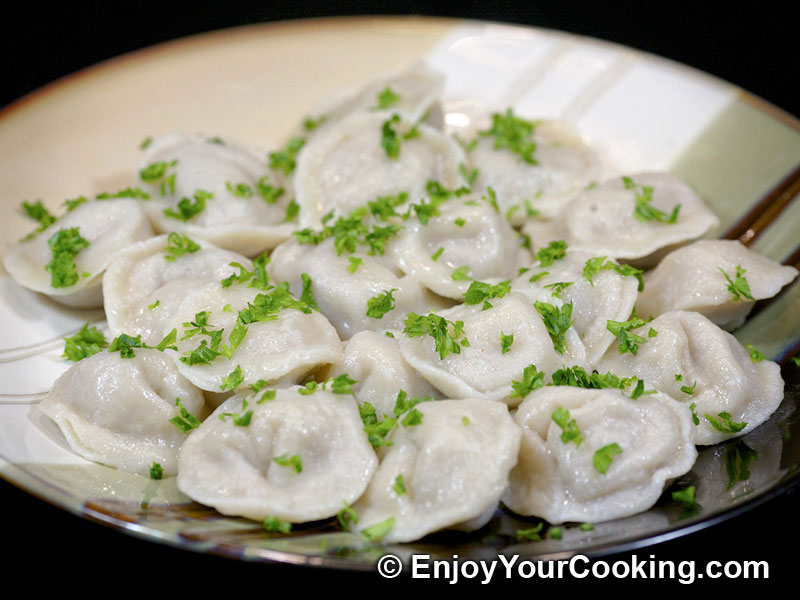
Smear with butter:
Russian Meat Dumplings (Pelmeni) Recipe: Step 11 -
And serve for lunch or dinner with your choice of a dip: ketchup, mayo, sour cream whatever you like:
Russian Meat Dumplings (Pelmeni)


View Comments
I definitely should have read that "flour the plate" direction carefully; wax paper is NOT sufficient. (Think I can save them, though.