How to Make Butter from Whipping Cream
October 26th, 2013 in Tips, Advices & How-to by Julia Volhina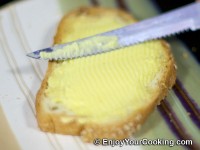
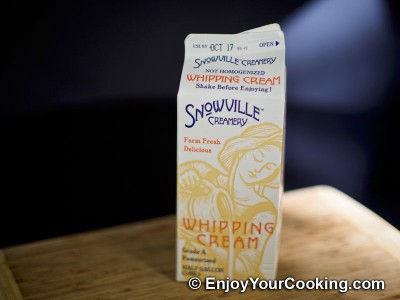
Couple of years ago we discovered Snowville Creamery. This creamery is local to Columbus OH area and it produces milk, half-half and whipping cream amongst other dairy products. These are absolutely delicious but only come in a half-gallon cartons.
And if I can find something to do with a half-gallon of milk, whipping cream is absolutely other matter: it is not so easy to use all of it (not unless I plan to eat whipped cream every day for breakfast, lunch and dinner for couple days in a row) in time.
Did I mention that Snowville Creamery whipping cream is absolutely delicious? It would be an absolute shame to let it spoil. So when I buy a whole carton and I only need a cup or two of it for some recipe, I do butter from the rest.
By the way, if you can’t find Snowville Creamery products nearby, make sure you use 100% not homogenized whipping cream instead, with no extra ingredients in it (check the label!).
Ingredients and Tools:
- Not homogenized whipping cream at room temperature
- Salt (optional)
- Stand mixer
- Cheese cloth
How to prepare, step-by-step:
-
Prepare ingredients: use 100% not homogenized whipping cream which doesn’t have any addition ingredients, at least couple of days old, at room temperature:
How to Make Butter from Whipping Cream: Step 1 -
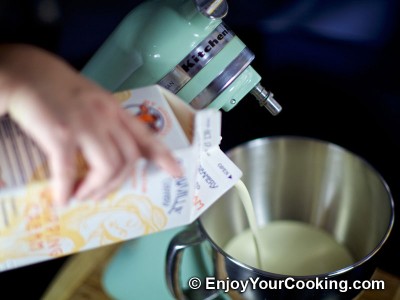
Pour whipping cream to a mixer bowl, make sure amount of cream takes not more than 1/3 of a bowl, if you need to prepare more butter (and use more cream) work in batches:
How to Make Butter from Whipping Cream: Step 2 -
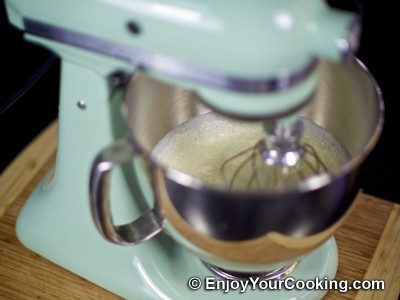
Put wire attachment on and start whipping cream over moderate high speed as you would normally do for whipped cream:
How to Make Butter from Whipping Cream: Step 3 -
After 5-8 minutes of whipping cream will begin to thicken:
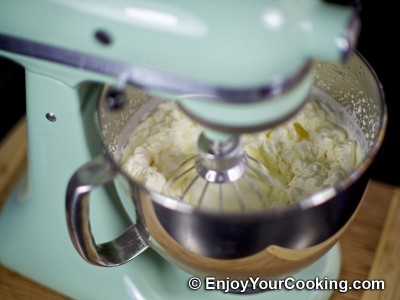
How to Make Butter from Whipping Cream: Step 4 -
When it becomes thick enough that it starts sticking to the attachment, I change wire attachment to mixing one (the one with bigger holes), and I suggest you to do the same:
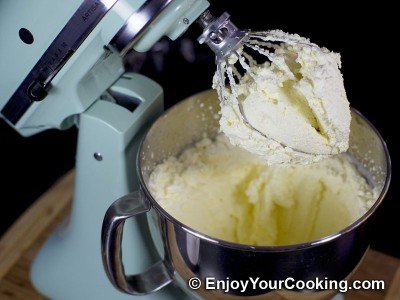
How to Make Butter from Whipping Cream: Step 5 -
If you want to make butter which will stay fresh longer add salt to the bowl, amount to taste:
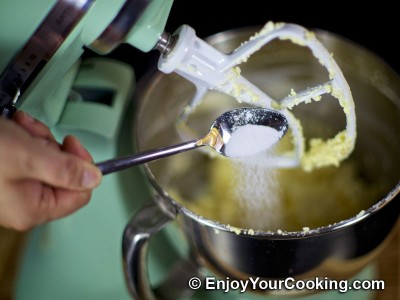
How to Make Butter from Whipping Cream: Step 6 -
Continue beating, you will see that at some point the mixture starts separating into yellowish butterfat and buttermilk (not the fermented skimmed milk kind, but the liquid remaining after churning of cream into butter). At this point liquid may splash out of the mixer bowl (especially if speed is high), so either use a screen, or continue pouring buttermilk out from the bowl as soon as it start producing. Continue churning for 10 mins more over lower speed than before (to remove more buttermilk liquid):
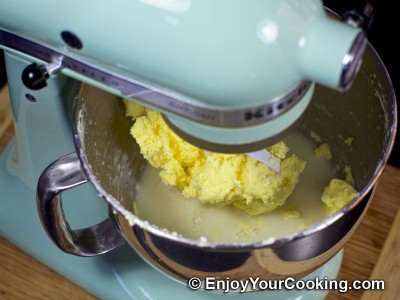
How to Make Butter from Whipping Cream: Step 7 -
Then move bowl content to a colander lined with 3-4 layers of cheesecloth and set over a bigger pot. Stir/mix butter in colander with a spatula to drain excessive buttermilk:
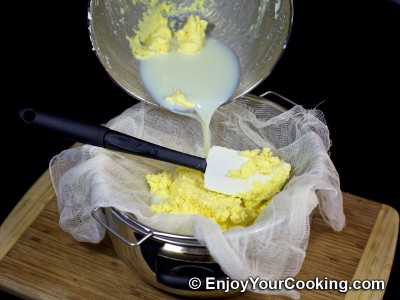
How to Make Butter from Whipping Cream: Step 8 -
Then pull ends of cheesecloth together and squeeze butter with cheesecloth and your hands to remove even more liquid from it to the colander:
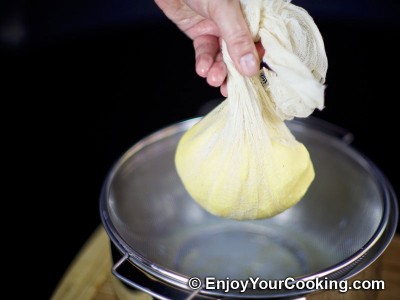
How to Make Butter from Whipping Cream: Step 9 -
Unfold butter over a slice of parchment paper:
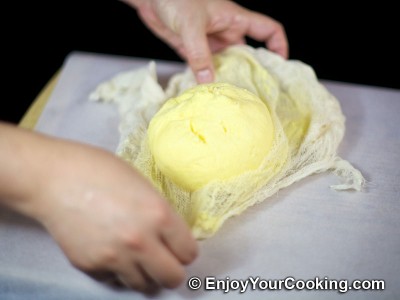
How to Make Butter from Whipping Cream: Step 10 -
Discard the cheesecloth:
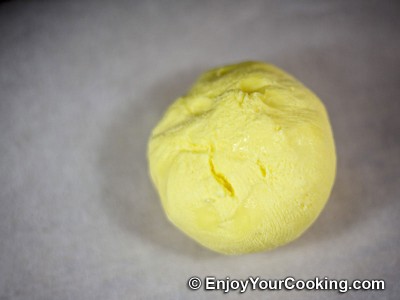
How to Make Butter from Whipping Cream: Step 11 -
At this point I usually form a stick of butter by squeezing it with my hands through the parchment paper, slice butter stick into portion pieces and freeze them to keep butter fresh longer:
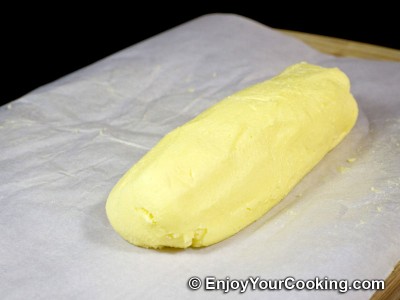
How to Make Butter from Whipping Cream: Step 12 -
Homemade butter prepared from good quality cream is perfect for spreading and cooking, it tastes just great:
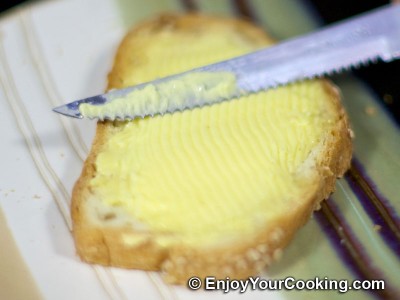
How to Make Butter from Whipping Cream
Tips and Advises
- Liquid produced while preparing butter from cream (buttermilk) can be used to prepare crepes, bread, muffins instead of milk; or as a marinate for chicken meat or fish for grilling.
I love your recipes, it is too easy to learn cooking, thank you…
Thank you!
Thank you, Julia! I’m so excited to do it this way. There is nothing as good as fresh butter!
I totally agree!